
Earlier this year I took the plunge and bought a 3D printer—an Elegoo Saturn to be precise. While I’ve always been an avid aircraft modeller, I’m also a bit of a sci-fi fan, and have had a long-standing interest in building particular vehicles and figures from various well-known sci-fi properties (my recently-completed Bandai Snowspeeder being a good example). The problem is—and particularly in the figure realm—some of these kits are either expensive and hard to find, or don’t exist at all! I can’t tell you how long I’ve searched for affordable examples of some of the old Halcyon and Horizon vinyl kits.
Now I don’t have to.
The advent and maturation of 3D printing has created something of a revolution in scale modelling, and indeed for hobbyists of all stripes. Many fantastic 3D models and designs are available for free or for a modest sum on sites such as Thingiverse, CGTrader, Gambody, and of course many others. And these include many of the subjects I’ve otherwise failed to source as traditional kits.
Adventures in 3D Printing
I started my journey into the dark art of 3D printing with a bust of the T-800 from The Terminator, which came out surprisingly and encouragingly well:

Suitably encouraged, my next effort was another bust, this time of the Iron Man Mk III suit. This is where reality started to set in, with many failed or poor-quality prints, and a botched paint job, before I finally arrived at an acceptable result:

While the failures were disheartening, I was determined to learn from them and power on to the next project, which turned out to be the first 3D model I paid for, Treebeard from The Lord of the Rings:

“Aziz, light!”
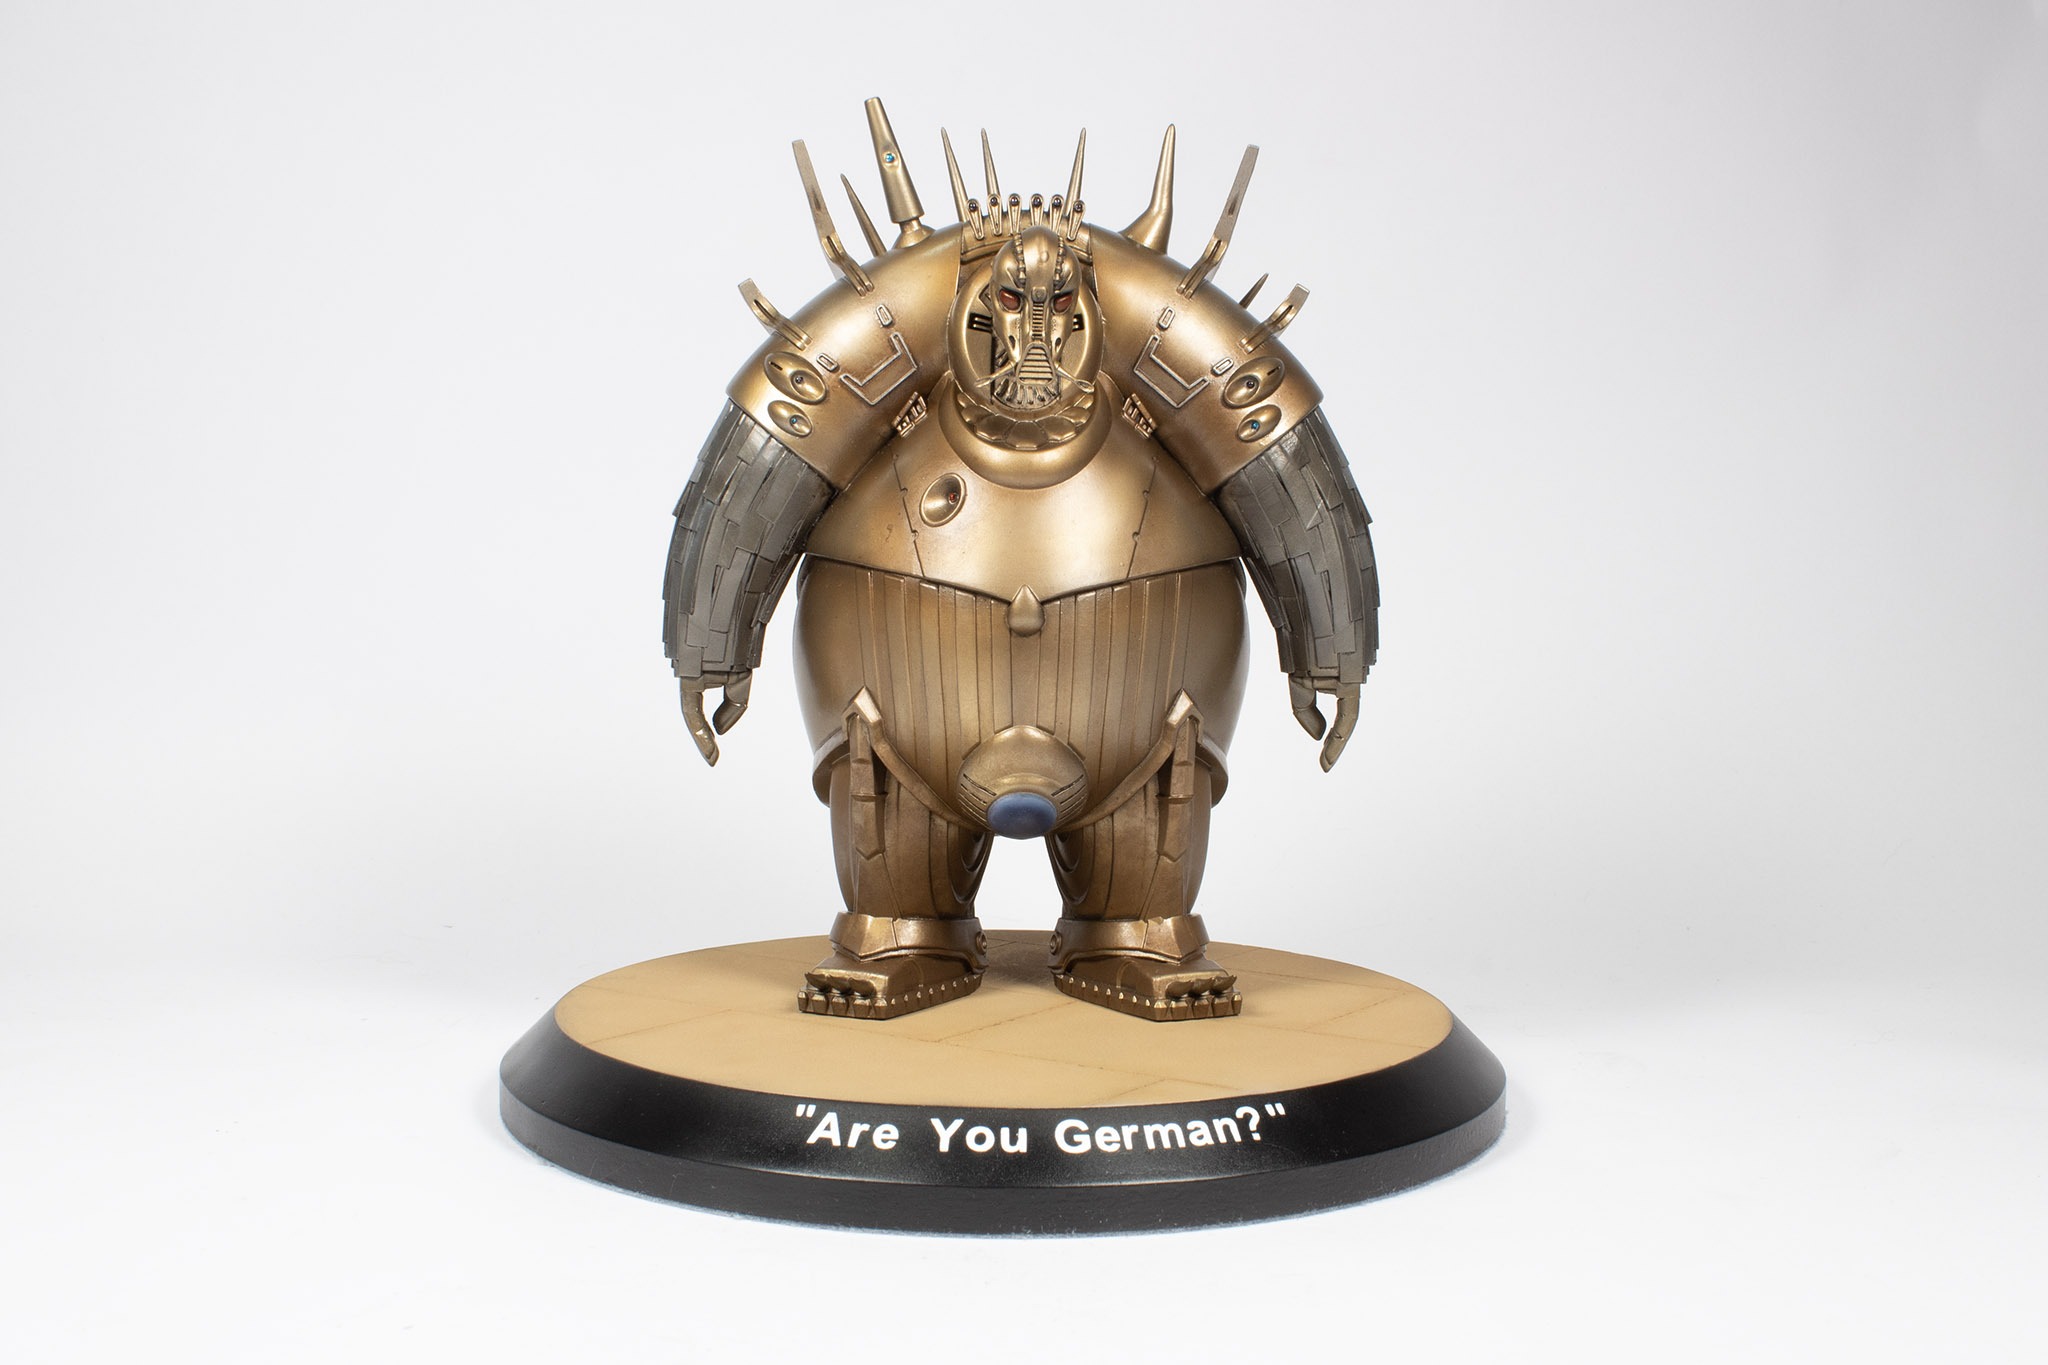
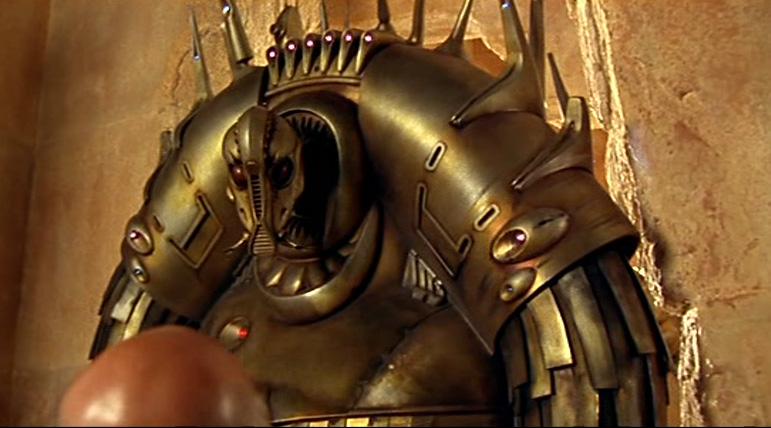
One of my favourite films is Luc Besson’s classic 1997 sci-fi action comedy, The Fifth Element. So naturally I went sniffing about the Interwebs for printable 3D models based on the film. There’s a handful of things around, but I was particularly taken with a Mondoshawan figure I found on Thingiverse. And best of all, it was free! (Mondoshawan’s are the large, rotund, bird-like creatures in the golden metal suits that feature in the opening scenes of the movie.)
The 3D model consists of a number of STL (stereolithography) files that break it into constituent parts for ease of printing and assembly. The head and arms are separate files, while the torso is included as either a single part, or top and bottom halves. I chose the former option, but decided to hollow it out before printing it to save on resin. My first attempt at printing the torso didn’t go well, with one of the legs failing to print at all:

The second attempt was much better, but still had an issue with that same leg, producing a toe-tapping version that was amusing, but not really usable:

Before printing the torso a third time (the arms and head printed fine the first time, thankfully), I decided to try removing the happy foot and replacing it with the good foot from the first print, transposing left to right in the process. It turns out they’re not as identical as they look, and it didn’t go well. I’ll spare you photos of the carnage, since they may upset sensitive readers.
Third time’s a charm, as they say, and this time I was lucky enough to have a near-perfect print:

All this is just to say that, despite the availability of low-cost, high-quality hardware, 3D printing is still a dark art, full of frustrating and expensive failures that can make you wonder why you got involved! There are so many variables to manage in achieving a successful print that it can be a complete mystery as to why one print failed when another did not. I consider myself to still be an ignorant neophyte, with a long way to go and much to learn!
“Time not important. Only life important.”
As it turns out, the arms did have some printing flaws that I hadn’t noticed prior to attaching them to the torso, but I decided to live with them, having had enough of reprinting for this project!

So, let’s take a look at the painting steps I took in attempting to replicate the finish we see on screen. It’s a brassy tone with hints of copper and silver, and is far from pristine, with darker areas of staining and contrast. A challenge! I started with a primer coat of Mr. Finishing Surfacer Black 1500, followed by a coat of SMS Jet Black to gloss it up.


This was followed by a layer of Xtreme Metal Titanium to create a silvery metallic base tone, followed by a very light coat of Xtreme Metal Brass:


Note that I’ve left the arms alone. An oft-missed detail from the movie is that these guys have arms that appear a much darker steel colour than the brass of their main suit, so I wanted to keep a silver colour as a base to attend to this later.
I then post-shaded this with an airbrush using a combination of SMS Advance Copper, and some Tamiya Red Brown with a dash of black added to it:

I also dry-brushed some of the shoulder areas with some Mr. Color Aluminium to bring back some silver tones. I was now starting to get some the reddish tones and contrast I was after. I still needed more, though, so the next step was to break out the oil paints and start doing some weathering. I mostly used Abteilung Burnt Umber, undiluted, and stippled on the model around the panel joins and overlaps, paying particular attention to the waist. I also stippled a heavy layer of the same paint over the legs and feet, trying to create a tarnished patina and tone down the pristine shiny look.


I also applied some SMS Steel to the arms, which were then given a dark wash of black oil paint, with selective raised strips highlighted using white oil paint. I’m not completely happy with the result, but decided to draw the line there. Note also that I made my best attempt to emulate the ‘crotch light’ using an SMS Chrome base, followed by clear blue and purple colours, and some highlighting with more white oil paint.
The final steps were to paint the eyes with Vallejo Red darkened with some black, paint the suit lights using various clear colours over some chrome applied with the new paint markers from SMS, and highlight the raised frames on the shoulder with a silver pencil. Done!
Late in the painting sequence I decided that Mondo was going to need a base for stability purposes, so I pulled a craftwood base out of my stash and set about using it to represent the floor of the temple at the beginning of the film.


While the printing process to produce this model was frustrating at times, it still knocks me out that I can press a button on a machine in my hobby room and produce such marvellous objects. And I’ll certainly be producing many more! But the real fun was in the painting process, and even producing the base was quite enjoyable. I really like the result, and I hope you do too!


