
I’m pleased to announced that Building the Airfix Buccaneer S.2C in 1/48 Scale by Geoff Coughlin has just been updated to v2.1. And to celebrate, for the next 7 days it’s available for just 10 Australian dollars!

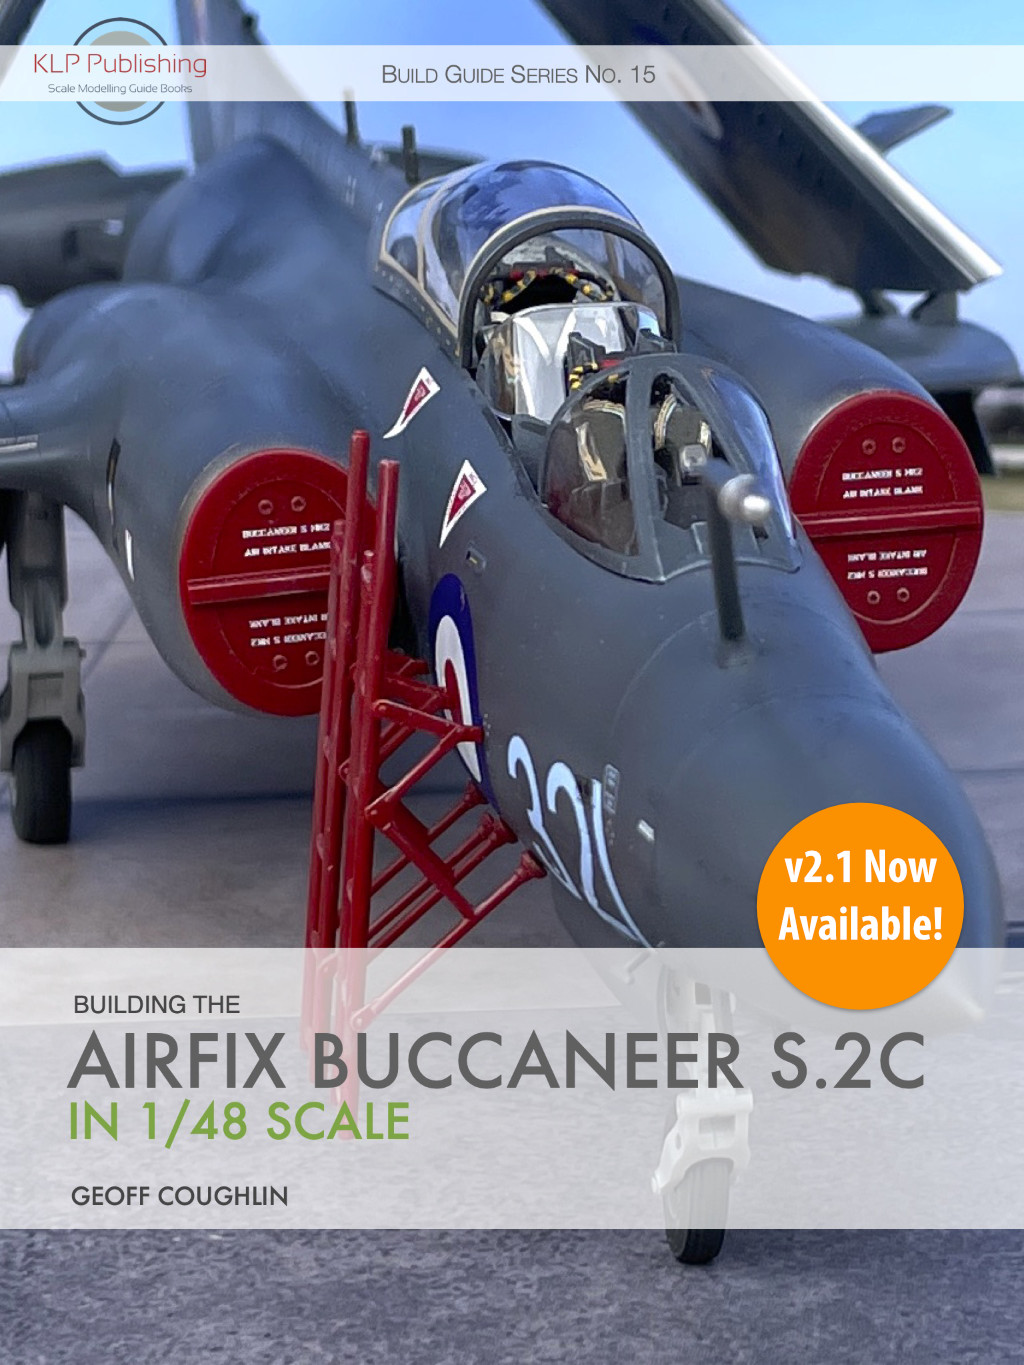
Building the Airfix Buccaneer S.2C in 1/48 Scale
Airfix’s 2022 release of a new-tool Buccaneer S.2C in 1/48 scale has been welcomed by modellers around the globe, and in this 147-page eBook, renowned UK modeller Geoff Coughlin takes you through the building and painting of this new kit. Along with Geoff’s terrific build, we’ve also included some colour profiles by Simon Hill, an overview of the kit itself, and a set of ordnance-related bonus photos.
And as with all our books, should more aftermarket products or reference titles be released, or we discover errors that need correcting, we will update the book accordingly. Anyone who purchased the pre-update version gets lifetime free access to all subsequent updated versions! All new purchasers will of course receive the updated version automatically.
v2.2 Now Available!
v2.0 adds a new 20-page Walkaround section.
Note: all our prices are in Australian dollars.
In this update, we’ve added the Black Dog engine set to the Aftermarket appendix, and tidied up a little in the typographical and layout departments.
This a free update for all existing purchasers, and of course new purchasers will always receive the latest version of any of our books.
In order to obtain your free update, simply re-download the book using either the original download link in your Order Confirmation email, or log in to your KLP account and download it from the Downloads section of your profile. If you don’t have either, please contact me and we’ll sort it out.
And of course, if you don’t have this one, for the next 7 days you can purchase it even more cheaply than usual!


You must be logged in to post a comment.