Posted on Leave a comment

“Building the Revell P-51D” Now On Sale!

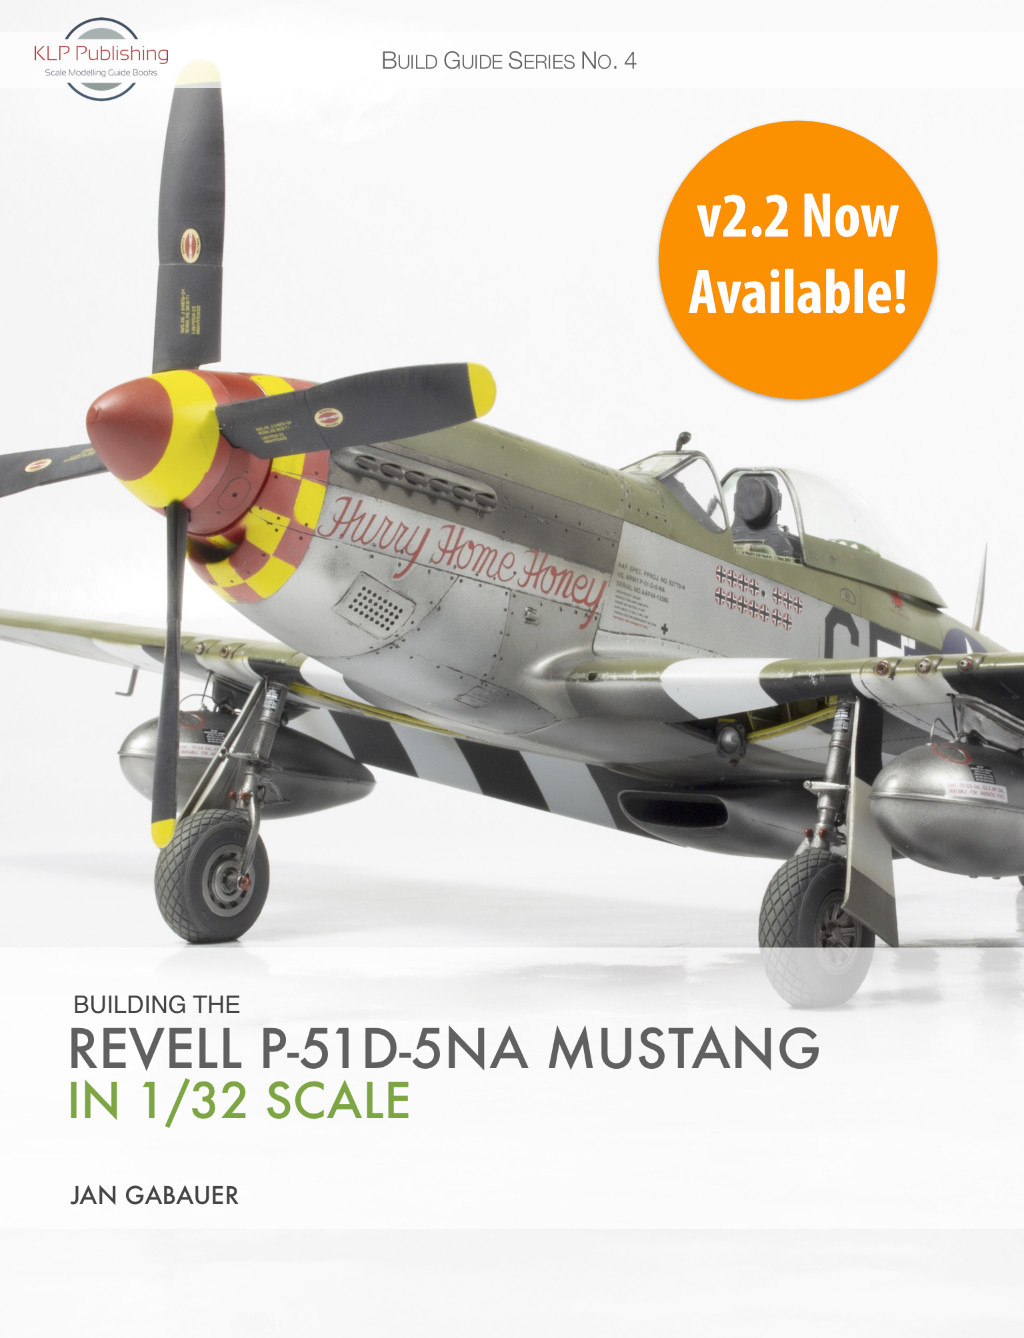
Today marks the 4th anniversary of the release of the 4th title in our Build Guide Series, Building the Revell P-51D-5NA Mustang in 1/32 Scale by Jan Gabauer. And to celebrate, for the next 7 days, we’ve reduced to price to a mere 9 Australian dollars!

So, head on over to our webstore and grab yourself a bargain!

Posted on Leave a comment

Building the Hasegawa P-51D in 1/32 Scale: Part 7

When we left off at the end of Part 6, I’d just finished preparing the kit’s windscreen, having decided to use it in preference to the Squadron vacuform part. The next step, logically enough, was to glue it into place and deal with the inevitable seams with some Mr. Surfacer 500 dabbed along the join with an old paint brush:

This was allowed to dry for 24 hours, and then the excess was cleaned up with a cotton bud moistened with Mr. Color Thinner. A quick spritz with Mr. Finishing Surfacer 1500 Black revealed that some additional work was required, which at this stage is still a work in progress! (In the photo above, you can see that I’ve assembled the kit’s sliding canopy, but its purpose here is purely to protect the cockpit, as it will be replaced by the Squadron vacuform component.)

Speaking of the Squadron vacuform canopy, I decided now would be a good time to tackle the sliding hood, which is a vast improvement over the clunky two-piece kit solution. Having already removed the windscreen from the backing sheet, I trimmed around the sliding hood with a sharp pair of scissors:

After a bunch of careful work with scissors, a hobby knife, some wet’n’dry and some sanding sticks, I arrived at this:

And a quick test-fit onto the fuselage:

It sits slightly low against the windscreen, and the easiest way to deal with that is to pose it open! However, this leaves me with the same problem I had with the vac windscreen: the material is too thin. I decided to bulk out the forward frame with some styrene strip:

The next steps will be to mask this piece inside and out, and get some black paint on the internal framing. After that, whatever internal detailing I can be bothered with will be added! But that’s for another update.

At this point I figured I’d turn my attention to the main landing gear, and the first task was to prepare the True Details resin wheels:

This is an old school set that features this company’s infamous exaggerated tyre bulges, so once they were removed from their casting blocks, I set about reducing these bulges to a much more realistic level:

The moulded-in flat spots are enough to convey the required impression of “weight on wheels”, and are in fact enough to allow the wheels to stand upright on their own. Painted up with the aid of wheel masks from the Montex set, they look the part:

This left the landing gear legs to do, each of which required some brake lines to be added. My first attempt was a total failure, so I stripped everything off and started again, finally arriving at the result below:

So we have some guitar string, some lead wire, some ANYZ braided wire and 3D-printed connectors, along with some heat-stretched cotton bud stems, and a few bolt head details from styrene rod. This was a challenge for my fading eyesight and complete lack of finesse, but I got there in the end. The tyre hubs have also had an oil wash in the interim. Note that I pre-painted and masked the oleo pistons prior to adding the brake lines. This made the masking tape quite difficult to remove after the fact!

It was all worth it, however, as the fully painted final result came out quite well:

The data placards came from the Eduard exterior detail set. Decals would have been a better solution, but I wanted to give these a try, and am happy enough with how they turned out.

And this brings us to the end of this update! Stay tuned for the one, where I hope to finish off the sliding canopy hood, and finally start the painting phase.

Posted on Leave a comment

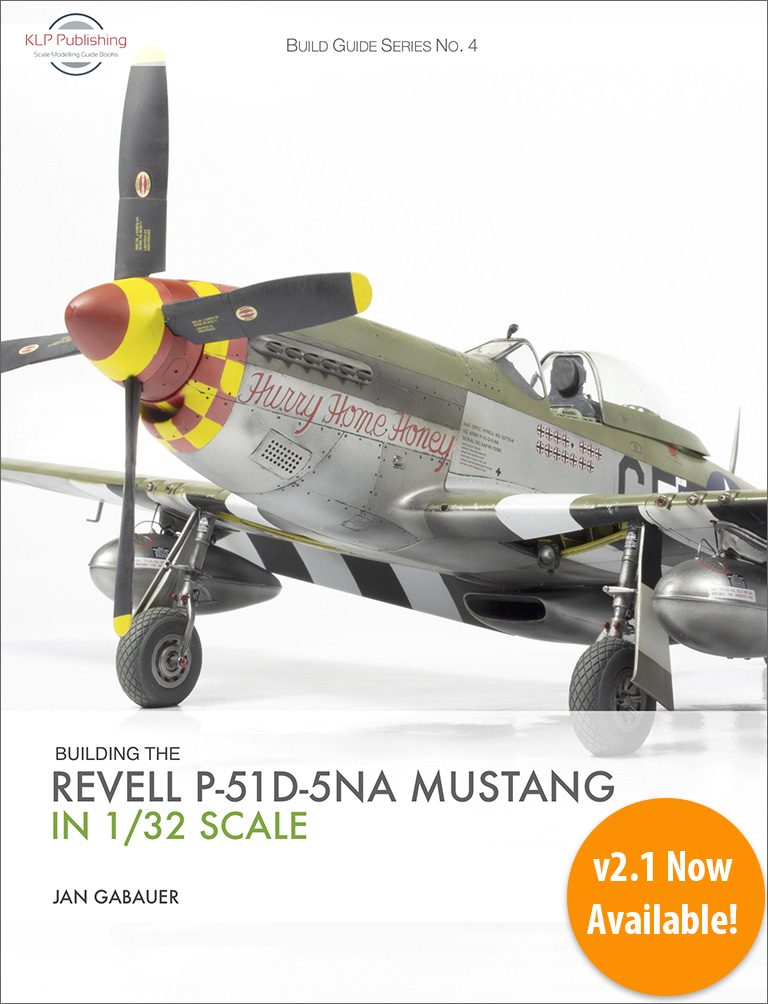
v2.1 of “Building the Revell P-51D” Now Available and On Sale!

I’m pleased to announce that Building the Revell P-51D-5NA Mustang in 1/32 Scale by Jan Gabauer, has just been updated to v2.1, and is also now on sale for just 9 Australian dollars!

This update features some minor polishing, and updates the links for the Barracuda products included in the book.

Existing purchasers are able to access the updated version for free. Simply log in to your account (or use your original download link) and re-download the book from the Downloads section of your profile. If you don’t have an account or the original download link, please contact me and we’ll sort it out. And of course, new purchasers will always receive the latest version.

To be sure you have the latest version, you can check the version number located at the bottom of the Copyright page (iii):

Sample Copyright page taken from Building the Hasegawa Fw 190D-9 in 1/32 Scale

Posted on Leave a comment

Building the Hasegawa P-51D in 1/32 Scale: Part 6

I last posted an update for this build back in June of 2022, and since then, things have been a little quiet at the workbench. I’m pleased to report, however, that there has been some recent progress, so let’s catch up!

After having finished the propeller, I started the process of painting the main airframe, and this began with the chequered nose. After masking off the exhaust stacks, I used the same SMS RLM04 yellow that I’d used on the spinner to lay down a base coat around the nose:

To create the chequers, I scanned the kit decals, imported them into Silhouette Studio, and using the auto-trace function, turned them into cut files that I could output to my Silhouette Portrait cutter. This was a somewhat fiddly and time-consuming process, but the results were worth the effort. Once cut, I applied the chequers to the model, masking out the yellow squares I wanted to keep:

This was followed by a quick dose of SMS Red, put on without any additional thinning:

And the result:

As expected, the vinyl masks didn’t conform all that well around the chin intake area, leaving things a bit untidy:

After applying the necessary touch-ups, I gave the whole area a gloss coat to protect the paint from subsequent masking. I couldn’t resist a test-fit of the prop while I was at it!

Of course, we’re a long way from the painting stage just yet, as I need to deal with the canopy—and in this case, it involves the Squadron vacuform replacement, which is far superior to the kit part. But it also comes with all the challenges that vacuform canopies present in terms of cutting them free of their backing sheets!

With older kits especially, I generally like to attach windscreen parts prior to the painting stage, so that I can address any fit issues and make them appear as part of the airframe, rather than simply stuck on. Below is the Squadron vacuform windscreen test-fitted to the airframe:

The fit is OK, though it will still need some work. I felt, however, that the part itself was actually too thin for scale, which surprised me somewhat. Here it is in comparison to the kit part:

The kit windscreen, while correspondingly too thick for scale, still presented a more credible appearance to my eye, so—much to my own bemusement—I opted to use it instead of the vac part!

Having made that decision, the next step was to mask it, in preparation not only for the painting stage, but also to protect it from any work that might need to be done to ensure a good fit (filling, sanding, etc). On this occasion, however, my normally reliable, tried-and-true methods for canopy masking all let me down! I usually consider myself pretty adept at this task, but this time around, I had to relent and do something I normally don’t do: buy canopy masks! I opted for the full Montex set, which was pretty much all I could find that included canopy masks designed specifically for this kit:

This has, so far, been the only deviation from my original only what’s in the box mantra for this build. Sometimes, you just have to get out of your own way!

So, the windscreen was duly masked up, and test-fitted onto the airframe:

It was at this point that I realised that I’d completely forgotten about the gunsight! A decent resin example is provided as part of the Grand Phoenix cockpit set, so I painted it up, added the reflector glass from clear acetate packaging material, and installed it in place:

Of course, it turns out that it should be black, not light grey, but by the time I discovered this, the windscreen had been glued in place, and it was too late. That’s model building, sometimes! It still looks OK though, I think:

Note that the interior of the windscreen was sprayed black prior to installation.

So, that’s it for this update. Next time, we’ll finish off canopy work, get the main landing gear finished, and make a start on the paint work.

Until then!

Posted on Leave a comment

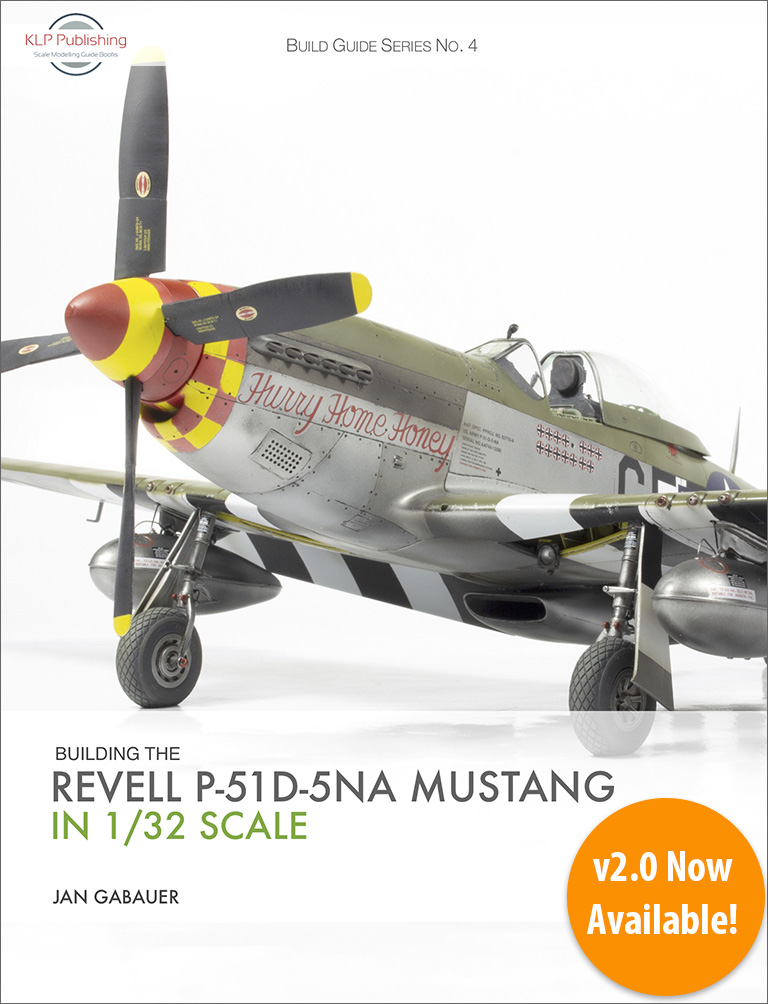
v2.0 of “Building the Revell P-51D-5NA” Now Available!

Today the Update Express has pulled into a new station, and disembarking onto the platform is none other than v2.0 of Building the Revell P-51D-5NA Mustang in 1/32 Scale! As well as the usual raft of typographical and layout improvements, this update has spawned three additional pages, as certain pages that were too cramped were spread out over more than one page.

Existing purchasers are able to access the updated version for free. Simply log in to your account (or use your original download link) and re-download the book from the Downloads section of your profile. If you don’t have an account or the original download link, please contact me and we’ll sort it out. And of course, new purchasers will always receive the latest version.

Stay tuned for more news and information—we will be announcing our next title very shortly!

Posted on Leave a comment

“Building the Revell P-51D-5NA Mustang in 1/32 Scale” Now On Sale!

This week the fourth title in our Build Guide Series, Building the Revell P-51D-5NA Mustang in 1/32 Scale, turns 3, and we’ve decided to celebrate by reducing its price to a mere 8 Australian dollars for the next few days. That’s a massive 33% off!

“Great little (!) e-book – 97pages of info on the kit and how the author went about building his version! Bought my copy in June 2020 and referred to it constantly when building building my Revell Mustang. Definitely a recommended purchase for anyone wanting to build the Revell P-51D (early) and I would also suggest for the new P-51D (late).”
– John Brooks, UK

“…probably the best value for money I have ever seen…”
– John Wilson, USA

“lovely e book, just like all the others, highly recommended.”
– Aaron Scott, UK

The sale runs until midnight, Sunday 28 August—so race on over to our web shop and grab yourself a bargain!

Posted on Leave a comment

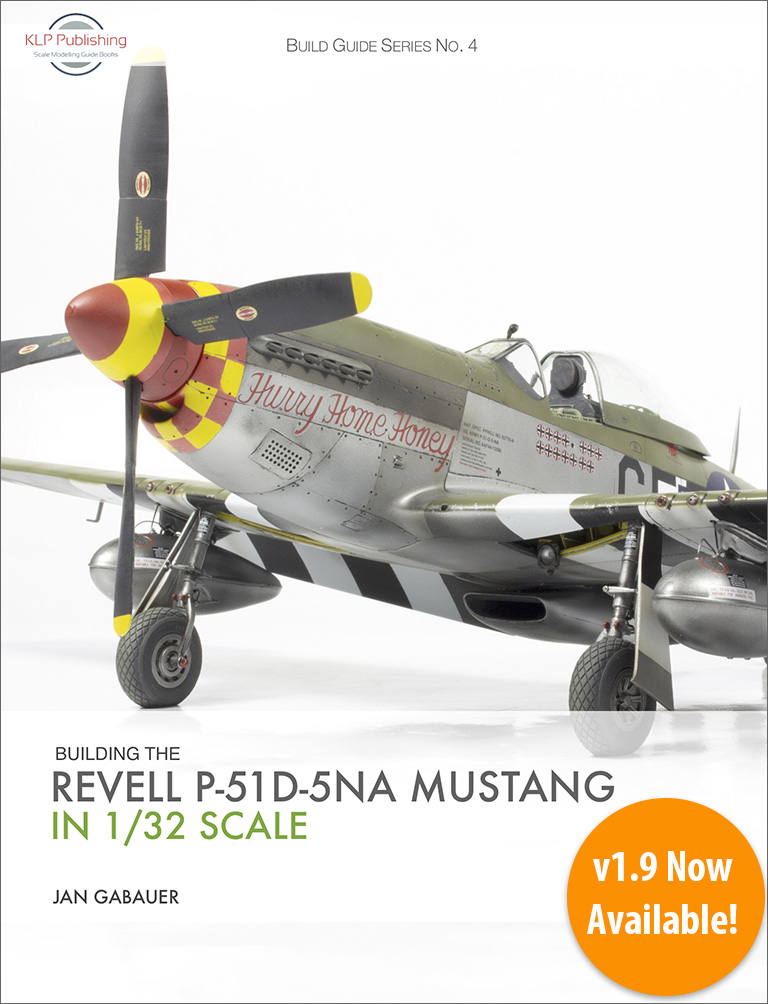
v1.9 of “Building the Revell P-51D” Now Available!

Hot on the heels of last month’s v1.8 update, Jan Gabauer’s Building the Revell P-51D-5NA Mustang in 1/32 Scale now gets updated to v1.9!

This update—like most of our updates—is merely the result of some more tweaking and fine-tuning of the text layout, and is therefore in no way an urgent one.

This is a free update for all existing purchasers of the book, while new purchasers will of course always receive the very latest version.

If you purchased this book while logged in to your account, simply re-download it from the Downloads section of your profile on the KLP website. The original download link in your order confirmation email should also work. If you don’t have an account and haven’t kept the original email, create an account and then contact me, and we’ll get it sorted out.

To stay tuned for further news and updates, simply subscribe to our blog via email, and you’ll get all the latest in your in-box as it happens.

Posted on 2 Comments

v1.8 of “Building the Revell P-51D-5NA” Now Available!

One of the cornerstones of the KLP Publishing business model is lifetime free updates on all of our titles. And it’s not an empty promise, as anyone who has been following us for any length of time can attest. Our books get updated on an as-needs basis, and these updates can range from something as small as fixing a typo, all the way up to adding entire new sections to the book.

The fourth title in our Build Guide Series, Building the Revell P-51D-5NA Mustang in 1/32 Scale, was updated only a month ago, but here we are again, updating it to v1.8! There’s always been this one product image in this book that I’ve never been happy with, and I’ve finally been able to replace it with a slightly better version. And you can bet that if I find an even better version, I’ll be updating the book again!

As always, this update is free for existing purchasers, and new purchasers will always get the very latest version. If you purchased this book while logged in to your account, simply re-download it from the Downloads section of your profile on the KLP website. The original download link in your order confirmation email should also work. If you don’t have an account and haven’t kept the original email, create an account and then contact me, and we’ll get it sorted out.

To stay tuned for further news and updates, simply subscribe to our blog via email, and you’ll get all the latest in your in-box as it happens.

Posted on Leave a comment

Building the Hasegawa P-51D in 1/32 Scale: Part 4

We ended Part 3 with with the fuselage finally joined, but some nasty gaps and misalignments to deal with. The one that had me most concerned was the mismatched exhaust openings on the port side, but after considering my options for a while, I decided to try the simplest solution, and carve away the excess material at each end:

It’s not perfect, but certainly much improved.

The gap to the rear of the upper engine cowling was easily fixed with some styrene strip and copious amounts of Tamiya Extra Thin liquid cement:

A little bit of Mr. Surfacer 500 and some more sanding, and this nasty gap is gone.

The gaps on either side of the cockpit sidewalls took a bit more effort, but finally yielded to some CA glue and clamping. They look much better now:

I decided that this was a good time to assemble the wings and tailplanes:

I was a little concerned that squeezing the cockpit sides in to fix those nasty sidewall gaps might have had an adverse effect on the wing root joins, but a quick test fit allayed my fears:

Before joining the two sub-assemblies together, however, I decided it would be easier to deal with their respective seams while they were still separate, so I spent some time filling and sanding until I thought they were ready.

I also took the opportunity to attend to the every-so-slightly oval gun ports. They weren’t so bad that they needed to be replaced, but were noticeably out of round, so I grabbed this handy reamer tool by Ustar:

This made short work of the problem, and made the gun ports at least acceptable:

I also managed to join the spinner cone to its base plate:

At this point, I could join the wings to the fuselage!

And true to the test-fitting I did, the resultant gaps were only minor, and while I was happy enough with how the wings and fuselage came together, the small gaps at the wing roots revealed during the test-fitting required just a little bit of extra attention, so I stretched some kit sprue, and forced it into the those gaps with copious amounts of liquid cement:

This is done not so much for gap-filling purposes, but to ensure that there’s sufficient plastic joining the wings to the fuselage in this important area, and this something that styrene does better than pretty much every other choice available to modellers.

And this brings us to the end of Part 4! Wing root seams await, but we’re getting close to final assembly now. Stay tuned for Part 5!

Posted on Leave a comment

Building the Hasegawa P-51D in 1/32 Scale: Part 3

The end of Part 2 saw us come up with a solution for securely installing Hasegawa’s wobbly engine into the fuselage. This meant that I could get on with the task of fitting all the requisite internal assemblies into the fuselage and close it up! Always a landmark moment in any aircraft build, but particularly so in this larger scale.

So, in goes the resin cockpit, along with the radiator exit ramp:

Of course, I mis-located the cockpit the first time around, and had to rip it out and reposition it about a millimetre aft.

The cockpit was secured with CA glue, while Tamiya Extra Thin cement did the trick with the radiator exit ramp. You can see in the photo above, however, that I’ve used some styrene strip to help reinforce the join across the top, along with a combination of black kit sprue and black CA to help block the otherwise see-through gaps at the back.

Time to pop the engine in and test fit the fuselage halves!

And with the upper cowl in place:

Now it was time to start the laborious task of joining the fuselage halves. I had to do this in sections, waiting for each section to ‘grip’ before moving on to the next one, and employing all manner of clamps to keep the two halves together:

Despite all this effort, I still managed to induce some fuselage slippage, which didn’t become evident until I glued the upper cowl in place:

That gap is a non-issue, and easily dealt with. The misalignment of the exhaust opening, however, is a different challenge altogether:

It’s fixable, and I’ll be dealing with it in the next update. This is disappointing after all the work I put into trying to avoid this kind of thing, but that’s modelling sometimes!

I’ve also still got some major gaps inside the cockpit to deal with:

Those two little construction conundrums bring us to the end of this update, so stay tuned for Part 4 to see how I deal with them!