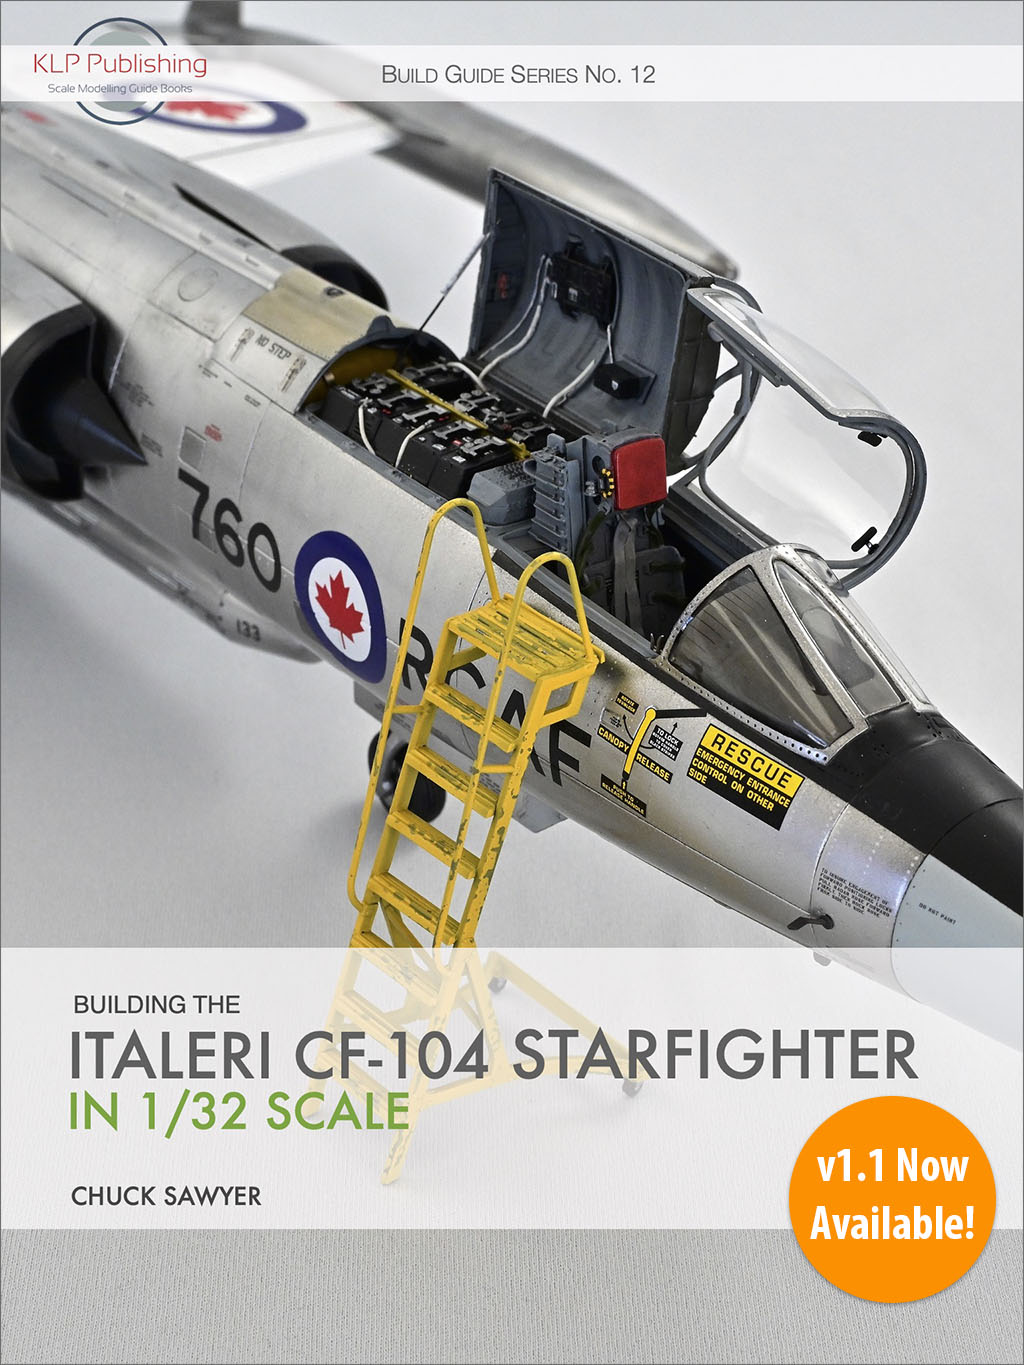
Inspired by some other examples I’d seen online, I decided to have a go at filming a quick 360° video of my recently-completed Bandai Snowspeeder build. Turns out my old Hobby Tools (Trumpeter) motorised display turntable was kaput, which forced me to purchase a replacement. I wanted something bigger and better anyway, but after a frustrating few hours of reading (mostly negative) reviews, I managed to find just one on Amazon that seemed to fit the bill. Once duly purchased and delivered, I decided to, well, take it for a spin.
Not good! Garbage, in fact. I quickly determined that the main issue seemed to be that the base of the turntable didn’t sit flat on the table, but instead had quite a significant wobble. After taking a bastard file to two of the four moulded-in plastic feet, I was able to rectify the problem, but unfortunately it made no difference to the level of jitteriness exhibited by the Snowspeeder. It seems there’s just too much instability in the stand, exacerbated by the angle I set it at. I need to do some follow-up testing with other types of models, but I suspect anything with spindly undercarriage will produce similar results. My guess is most cars, AFVs, and figures would be fine.
So, disappointed but not defeated, I shall retreat to the hobby room for some more tinkering.
This video—a relative failure though it is—also represents a soft launch of the KLP Publishing YouTube channel. Even though there’s not a lot happening just yet, it would be fantastic—and much appreciated—if you could give it a “like and subscribe”, as they say. I’m also happy to take any suggestions for content you’d like to see.
And don’t forget to subscribe to our blog for future news and updates!
I took this project on as part of my friend Scott Taylor’s #smschallenge2 on The Scale Modeller’s Supply Facebook group. Scott is the proprietor of The Scale Modellers Supply (SMS), purveyor of the fantastic SMS paints range, among other useful modelling tools and supplies. The challenge was to build a Star Wars kit—any Star Wars kit, and kicked off, appropriately enough, on May the Fourth.
Here’s the kit in question:
If you’ve never seen one of these Bandai Star Wars kits in the flesh, you’re in for a treat the first time that you do. They’re really quite amazing, and can literally be built without any glue. The level of detail, quality of moulding, and overall execution of the package is second to none. There are three runners of light grey plastic, one in black, one in translucent red, and a runner for the clear parts that has been stunningly moulded with the black runner!
Despite being essentially a “snap-together” kit, it features some amazing detail and engineering.
Markings are provided as either standard waterslide decals, or child-friendly self-adhesive stickers.
The instructions are in Japanese for the most part, but an English translation is available.
Getting to first base with this kit is a doddle, though there are traps for the unwary—I did manage to screw up the orientation of a couple of parts, however, which is pretty true to form for me!
Note that I raced ahead and glued the rear cockpit cowl in place too early, which would later cause me a bit of an issue!
One of the more challenging aspects of the build is painting the nicely detailed cockpit. If you’re not feeling up to it, decals (and stickers) are included in the kit to provide console details, but I of course chose the hard way!
I used MRP RLM 66 (MRP-59) as a scale black for the base colour, followed by careful brush painting with various Vallejo Model Color acrylics.
The cockpit side consoles were a real challenge to paint, but turned out OK I think. Thankfully, washes and dry-brushing help enormously!
The cockpit seats were painted with Tamiya Deck Tan, and given a heavy wash with Burnt Umber oil paint.
After painting all those small details, I realised I needed better detailing brushes!
The rear cockpit console. Some of the smallest details were actually painted with a toothpick.
The front cockpit console (left) and rear cockpit screen (right). The latter was first painted silver (Mr. Metal Color MC218 Aluminium), followed by a couple of heavy coats of Tamiya X-23 Clear Blue.
While I had the detail brushes out, I also painted the interior of these equipment bays on what I presume are cannon mounts:
MRP RLM 66 for the base colour, and Vallejo acrylics for the details.
Such is the beautiful simplicity of this kit, that once the cockpit was fully painted, the main fuselage (hull?) parts could be assembled:
The rear cockpit hood being clamped back into position after emergency removal!
Of course, this is where my too-early installation of the rear cockpit hood came back to haunt me, as it blocked the rear console assembly from being slid into place! I ended up having to saw the hood off with a razor saw, insert the rear console assembly, reattach the hood (seen clamped after gluing in the photo above), and then blend in the join with Mr. Surfacer 500. Even Bandai kits aren’t safe from my ham fists!
With careful painting, the cockpit really comes to life.
I took a lot of my cues for this build from a 3-part video series by Jon Bius on YouTube, and he suggests leaving the rear section off the model until the very end, whereas Bandai would have you enclose it between the fuselage halves while joining them.
I had a bit of trouble getting it fully inserted properly at the end, so I’m not sure if I would do it that way again.
Another tip I got from Jon’s build is to use the 2-piece canopy solution (rather than the 2-piece all clear alternative), mask the inner clear piece, and then assemble them temporarily for painting and weathering:
Here are all the major assemblies after a couple of light coats of Mr. Finishing Surfacer 1500:
I added little tabs from Tamiya tape to the equipment bay covers, so I could use them a masks while painting, but easily pull them off when I was done.
The black areas were painted first with Tamiya Rubber Black. I decided to keep the Mr. Surfacer as the base colour, as it’s pretty close to what I was aiming for anyway, and will make a good base for the subsequent weathering. I also decided to try the kit decals for all the panel variations, rather than mask and paint them.
Kit decals being applied over a coat of Tamiya X-22 Clear Gloss.
I elected to use the kit panel decals, rather than mask and paint them, just to see how they would work out.
While the kit decals were OK, I’d definitely mask and paint them next time. For starters, the printing is surprisingly coarse, with the dot pattern quite visible close up. They’re also quite thick, and I had to deal with some residual tenting issues around raised details. And the last issue, one of my own making, is that I misplaced some of the underside panels, creating gaps and misalignments along the way. I decided not to apply two of them at all in the end, as there was no way they were going down over the raised details in those areas (I did try with one of them).
Now I could start in on the weathering, which started with a panel line wash.
This was actually the second attempt at the panel line wash, as my first attempt with oils (my usual approach) all but wiped right off completely during clean up. I had to fall back to some AK Interactive Panel Liner, and even then, it’s still pretty patchy. Ultimately I deepened some of the panel lines around the nose that weren’t holding on to the wash, and reapplied it with more success.
While I waited for those initial weathering passes to dry off, I decided to start painting the two pilot figures, base-coating with Fire Orange from the new Infinite Colour range from SMS:
This was followed by a heavy wash of Burnt Umber oil paint, and then a couple of hours of detail painting and decalling, to arrive at the result below:
Putting the ‘pain’ back into painting. The cockpit figures don’t look great in close up, but at normal viewing distances, they seem to do the job.
And back to the final phases of the weathering process, rendered mostly with filters of oil paint and some chipping with acrylics:
The cannon assemblies just click into place, but I chose to glue them down for a better overall fit.
With the weathering complete, final assembly could begin. I elected to use the kit’s display stand for simplicity’s sake, so it was painted up in off-white and black, ready for duty:
Time to install the crew figures:
The final tasks were to paint the inside of the plastic canopy part, along with the rear gun, and then assemble and install both. The gun was painted with RLM 66, given a flat coat, and I mounted the finished model on the display stand at a suitably dynamic angle.
I enjoyed this build tremendously, and am already struggling to resist the urge to crack open another Bandai Star Wars kit immediately! If you haven’t built one, I recommend you do so, and as soon as possible!
Building the Revell P-51D-5NA Mustang in 1/32 Scale
In this 103-page eBook, Jan Gabauer builds, paints, and weathers the new Revell 1/32 P-51D kit to produce an excellent rendition of Major Richard A. Peterson’s “Hurry Home Honey”.
The book features not only Jan’s terrific build guide, but also artwork by Juanita Franzi, a review of the kit itself, and an extensive set of appendices covering applicable aftermarket products and reference works.
This update—like most of our updates—is merely the result of some more tweaking and fine-tuning of the text layout, and is therefore in no way an urgent one.
This is a free update for all existing purchasers of the book, while new purchasers will of course always receive the very latest version.
If you purchased this book while logged in to your account, simply re-download it from the Downloads section of your profile on the KLP website. The original download link in your order confirmation email should also work. If you don’t have an account and haven’t kept the original email, create an account and then contact me, and we’ll get it sorted out.
To stay tuned for further news and updates, simply subscribe to our blog via email, and you’ll get all the latest in your in-box as it happens.
This update sees a number of annoying hyphenation issues resolved, some new product images added to the text, and the restoration of a lost paragraph! This is a free update for all existing purchasers of the book, while new purchasers will of course always receive the very latest version.
If you purchased this book while logged in to your account, simply re-download it from the Downloads section of your profile on the KLP website. The original download link in your order confirmation email should also work. If you don’t have an account and haven’t kept the original email, create an account and then contact me, and we’ll get it sorted out.
To stay tuned for further news and updates, simply subscribe to our blog via email, and you’ll get all the latest in your in-box as it happens.
I’m pleased to announce that our next title will be Building the Kitty Hawk HH-60G Pavehawk in 1/35 Scale, by Pete Fleischmann. This will be No. 13 in our Build Guide Series, and as the title suggests, will feature Pete’s amazing build of the Kitty Hawk 1/35 HH-60G Pavehawk kit, in a vignette with a complement of equally amazing figures from Live Resin.
Work has begun, and we’re hoping to nail down the first draft by the end of the month. Stay tuned for updates and more information as it comes to hand!
While it’s true that I’m primarily an aircraft modeller, I do like to dabble in sci-fi and fantasy subjects from time to time, and back in 2015, I found myself building the Polar Lights 1/1000 NCC-1701 Enterprise kit from Star Trek. I was never particularly happy with the supplied plastic stand however, and I can remember it breaking off from the kit at least once.
Fast forward to early this year, and I find myself preparing for a major house move, and scratching my chin over how to move all my built models. In checking my little Enterprise build, I noticed that the join of the stand into the hull was once again very tenuous, and definitely would not survive the move. I decided to take pre-emptive action, and carefully severed it from its base, with the idea of remounting it on a new one afterwards.
Here’s the damage after my emergency intervention:
The two plastic pins from the top of the kit’s stand have snapped off and become embedded in their mounting holes. The damage to the finish is from my previous attempt at a repair. Here’s the top of the kit stand:
It’s small and not particularly strong, and the model has been wobbly upon it since the day I finished it. Originally I was going to toss this away and just mount the kit on a new wooden base or plinth, but I didn’t have any nice ones to hand. Instead, the most suitable thing I had in stock was this cheap and slightly nasty MDF craft wood plaque:
I’ve used these things before, and they’re quite a bit of work to make look decent; the routed edges in particular are a super-absorbent PITA. However, I didn’t want this project to be long or complicated, and I was aiming for function over form, so I elected to make do. You can see that I’d already drilled a central mounting hole for the brass tubing I chose as the mounting pole.
The reason the plastic stand came in handy is because I decided to dress up the plain wooden base by mounting said plastic stand atop it. More of that later.
In keeping with my desire to keep things simple, I decided that the whole thing – wooden base, plastic adornment, and brass mounting pole – was going to be painted gloss black (in hindsight I should have chosen satin or even mat, but there you go). So I started with several coats of Rustoleum grey primer straight out of the rattle can, sanding between coats, eventually ending up with this:
Even now you can see that the routed edge is still a little rough, but I didn’t want to spend any longer on it. And I probably won’t be buying any more of this kind base again! (I do have a couple more in my stash, though.)
Setting the base aside, I started working on modifying the plastic stand, firstly by removing the upright section. This left an ugly mess that was going to be nearly impossible to clean up nicely, so I cloned the shape of the central cut-out with Tamiya tape, transferred it to some styrene sheet, cut it out, and glued it over the top of the mess:
In truth it took quite a bit of fettling with some sanding sticks to get the shape to fit properly, and I stopped well short of perfect. I also drilled a hole through it to accept the brass rod, which will obviously be aligned with the hole on the wooden base.
Speaking of the wooden base, I started applying coats of gloss black acrylic lacquer to it:
Looks OK from that angle, but unfortunately after a couple of passes, I started having a lot of trouble with spitting out of the rattle can, which in less favourable light looked like this:
So a couple of rounds of sanding and spraying later, I was able to put the pieces together and get this:
The plastic part was actually a little warped (exacerbating its wobbliness, no doubt), so I used JB Kwik Weld to secure it into position, with some 2KG dumbbells holding it down. Of course, the dumbbells marked the finish, so I had to give it another quick spray of the black!
My final task before mounting the model as to add some felt to the underside of the base, just so it wouldn’t mar any surface it was placed on:
Spray adhesive, press into place, trim with a blade. Pretty simple. The final job was to clean up the old mounting holes in the model, and drill a new one to accept the brass pole:
After taking that photo, I touched up the darker grey, added some JB Kwik Weld to the top of the brass pole, and slid the model into place:
This turned out to be a lot more work than I had planned on, but the result is certainly much more stable than it was before. The shiny black takes fingerprints like nobody’s business, and makes things a bit hard to see, but overall, I’m still pretty happy at having been able to save this model from certain destruction.
And here it is in place on the “sci-fi shelf” of my new display cabinet:
And that’s it! I think from now on I’m just going to replace this type of kit stand as a matter of course. I’ve made a few bases like this in the past, and they always look better than what you get in the kit, as well as being much more sturdy.
In this 326-page eBook, Chuck Sawyer builds the Italeri 1/32 F-104G Starfighter kit as a Canadian CF-104, combining it with a modest selection of aftermarket products to produce a stunning model. Along the way, Chuck treats us to tutorials on obtaining a flawless gloss finish, getting the best out of the Alclad range of metallic paints, and how to apply HGW’s tricky Wet Transfer decals.
Building the Italeri CF-104 Starfighter in 1/32 Scale
In this 326-page eBook, Chuck Sawyer builds the Italeri 1/32 F-104G Starfighter kit as a Canadian CF-104, combining it with a modest selection of aftermarket products to produce a stunning model. Along the way, Chuck treats us to tutorials on obtaining a flawless gloss finish, getting the best out of the Alclad range of metallic paints, and how to apply HGW’s tricky Wet Transfer decals.
We’ve also included a 65-page walkaround by Gord McTaggart, of the CF-104 that currently resides at The Military Museum in Calgary Alberta, Canada.
Along with kit reviews by Dave Williams and our usual array of Appendices, we’ve also included a 65-page walkaround by Gord McTaggart, of the CF-104 that currently resides at The Military Museum in Calgary Alberta, Canada.
Chuck’s build is highly instructive, and will be invaluable to anybody wishing to build the Italeri Starfighter, irrespective of the particular variant they’re building.
And as with all our books, should any updates be required, anyone who purchased a prior version gets lifetime free access to all subsequent updated versions! All new purchasers will of course receive the updated version automatically.
One of the cornerstones of the KLP Publishing business model is lifetime free updates on all of our titles. And it’s not an empty promise, as anyone who has been following us for any length of time can attest. Our books get updated on an as-needs basis, and these updates can range from something as small as fixing a typo, all the way up to adding entire new sections to the book.
The fourth title in our Build Guide Series, Building the Revell P-51D-5NA Mustang in 1/32 Scale, was updated only a month ago, but here we are again, updating it to v1.8! There’s always been this one product image in this book that I’ve never been happy with, and I’ve finally been able to replace it with a slightly better version. And you can bet that if I find an even better version, I’ll be updating the book again!
Building the Revell P-51D-5NA Mustang in 1/32 Scale
In this 103-page eBook, Jan Gabauer builds, paints, and weathers the new Revell 1/32 P-51D kit to produce an excellent rendition of Major Richard A. Peterson’s “Hurry Home Honey”.
The book features not only Jan’s terrific build guide, but also artwork by Juanita Franzi, a review of the kit itself, and an extensive set of appendices covering applicable aftermarket products and reference works.
As always, this update is free for existing purchasers, and new purchasers will always get the very latest version. If you purchased this book while logged in to your account, simply re-download it from the Downloads section of your profile on the KLP website. The original download link in your order confirmation email should also work. If you don’t have an account and haven’t kept the original email, create an account and then contact me, and we’ll get it sorted out.
To stay tuned for further news and updates, simply subscribe to our blog via email, and you’ll get all the latest in your in-box as it happens.
We ended Part 3 with with the fuselage finally joined, but some nasty gaps and misalignments to deal with. The one that had me most concerned was the mismatched exhaust openings on the port side, but after considering my options for a while, I decided to try the simplest solution, and carve away the excess material at each end:
It’s not perfect, but certainly much improved.
The gap to the rear of the upper engine cowling was easily fixed with some styrene strip and copious amounts of Tamiya Extra Thin liquid cement:
A little bit of Mr. Surfacer 500 and some more sanding, and this nasty gap is gone.
The gaps on either side of the cockpit sidewalls took a bit more effort, but finally yielded to some CA glue and clamping. They look much better now:
I decided that this was a good time to assemble the wings and tailplanes:
I was a little concerned that squeezing the cockpit sides in to fix those nasty sidewall gaps might have had an adverse effect on the wing root joins, but a quick test fit allayed my fears:
Before joining the two sub-assemblies together, however, I decided it would be easier to deal with their respective seams while they were still separate, so I spent some time filling and sanding until I thought they were ready.
I also took the opportunity to attend to the every-so-slightly oval gun ports. They weren’t so bad that they needed to be replaced, but were noticeably out of round, so I grabbed this handy reamer tool by Ustar:
This made short work of the problem, and made the gun ports at least acceptable:
I also managed to join the spinner cone to its base plate:
At this point, I could join the wings to the fuselage!
And true to the test-fitting I did, the resultant gaps were only minor, and while I was happy enough with how the wings and fuselage came together, the small gaps at the wing roots revealed during the test-fitting required just a little bit of extra attention, so I stretched some kit sprue, and forced it into the those gaps with copious amounts of liquid cement:
This is done not so much for gap-filling purposes, but to ensure that there’s sufficient plastic joining the wings to the fuselage in this important area, and this something that styrene does better than pretty much every other choice available to modellers.
And this brings us to the end of Part 4! Wing root seams await, but we’re getting close to final assembly now. Stay tuned for Part 5!
The end of Part 2 saw us come up with a solution for securely installing Hasegawa’s wobbly engine into the fuselage. This meant that I could get on with the task of fitting all the requisite internal assemblies into the fuselage and close it up! Always a landmark moment in any aircraft build, but particularly so in this larger scale.
So, in goes the resin cockpit, along with the radiator exit ramp:
Of course, I mis-located the cockpit the first time around, and had to rip it out and reposition it about a millimetre aft.
The cockpit was secured with CA glue, while Tamiya Extra Thin cement did the trick with the radiator exit ramp. You can see in the photo above, however, that I’ve used some styrene strip to help reinforce the join across the top, along with a combination of black kit sprue and black CA to help block the otherwise see-through gaps at the back.
Time to pop the engine in and test fit the fuselage halves!
And with the upper cowl in place:
Now it was time to start the laborious task of joining the fuselage halves. I had to do this in sections, waiting for each section to ‘grip’ before moving on to the next one, and employing all manner of clamps to keep the two halves together:
Despite all this effort, I still managed to induce some fuselage slippage, which didn’t become evident until I glued the upper cowl in place:
That gap is a non-issue, and easily dealt with. The misalignment of the exhaust opening, however, is a different challenge altogether:
It’s fixable, and I’ll be dealing with it in the next update. This is disappointing after all the work I put into trying to avoid this kind of thing, but that’s modelling sometimes!
I’ve also still got some major gaps inside the cockpit to deal with:
Those two little construction conundrums bring us to the end of this update, so stay tuned for Part 4 to see how I deal with them!
You must be logged in to post a comment.