
Our mission to refresh all of our older books continues apace, with our second-ever Build Guide, Building the HpH Fw 189 ‘Uhu’ in 1/32 Scale, now being updated to v1.5.

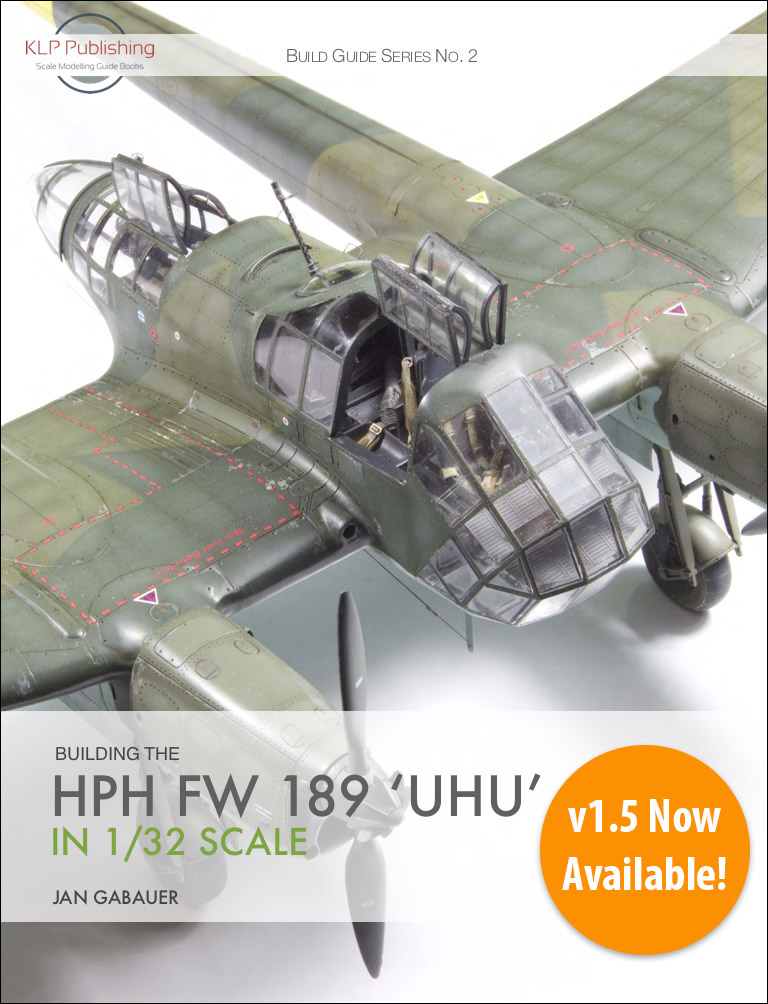
Building the HpH Fw 189 ‘Uhu’ in 1/32 Scale
In this 74-page eBook, Jan Gabauer tackles the impressive mixed-media 1/32 scale Fw 189 kit from HpH Models. Jan navigates the complexities of the build with aplomb, offering tips for working with resin assemblies, and overcoming the particular challenges of this kit.
v1.8 Now Available!
Note: all our prices are in Australian dollars.


Existing purchasers are able to access the updated version for free. Simply log in to your account (or use your original download link) and re-download the book from the Downloads section of your profile. If you don’t have an account or the original download link, please contact me and we’ll sort it out. And of course, new purchasers will always receive the latest version.
See you for the next one!


You must be logged in to post a comment.